By The Lowdown Guide Editorial Team · Last verified on the ground: 2026-05-25
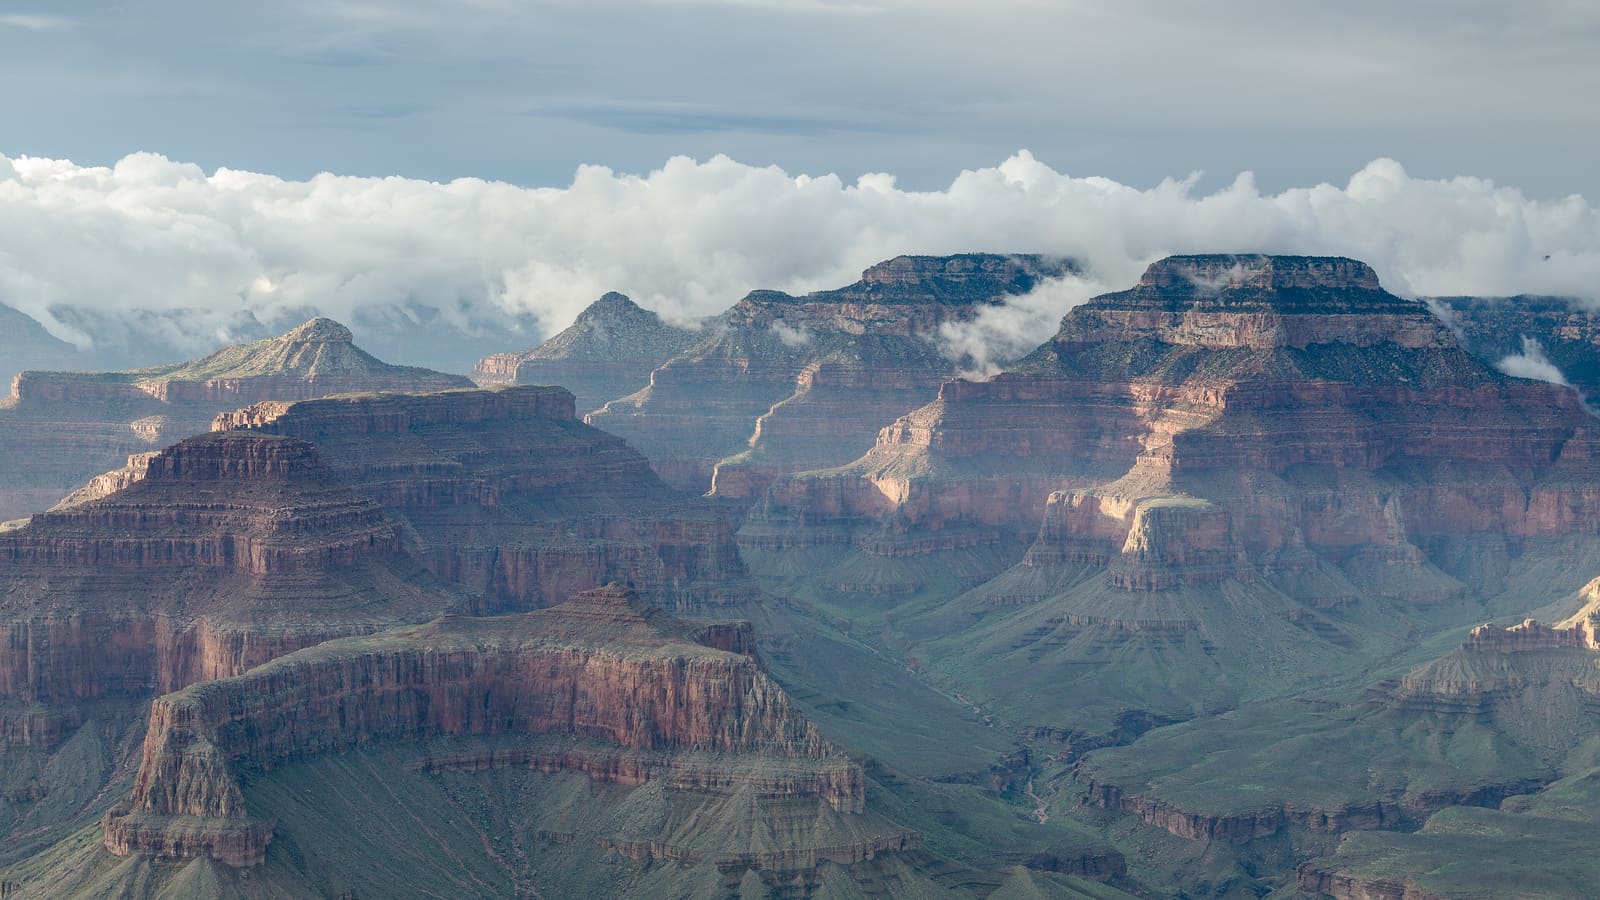
The canyon is a photographer’s dream and a harsh teacher all at once. Broad panoramas, tight channels, and light that can flip in minutes. The trick isn’t buying another lens; it’s understanding how light direction changes every ridge line and how timing unlocks color and texture that tells a story.
Here’s how I approach a keeper session: plan for light, pack light, and expect the canyon to throw you a curveball. Let’s break it down in eight sections that actually move your shots forward without chasing the latest gadget.
1. Intro
Grand Canyon photography is deceptively hard. The trick isn’t the gear; it’s catching the light as it finally reveals the ridges. East-facing overlooks catch early light and side-rake the buttes at sunrise; west-facing Hermit Road points own sunset. The difference is sun angle and timing, not a magic new lens.
In practice, that means you start by choosing your light window—early light at Mather and Yaki, late light at Hopi and Pima—then build a plan around timing and patience rather than chasing every new lens release.
2. Sunrise vs sunset by light direction
East-facing overlooks (Mather Point, Yaki Point) catch first light and side-rake the ridges at sunrise, while west-facing Hermit Road viewpoints (Hopi Point, Pima Point) own sunset. Why? The sun angle at dawn hits eastern faces first, then sweeps across the canyon as it climbs, raking ridges in sculpted layers. At sunset, the western walls glow while the sky behind them deepens the color, giving you that punchy rim-light contrast you crave.
Internal note: for prime sunrise work, set your base at Mather Point or Yaki Point. For sunset, head toward Hopi Point or Pima Point along Hermit Road.
For a practical anchor, I often start with Mather Point at first light, then move to Hopi Point for evening color. Reserve time for quick access, since Hermit Road shuttle timing can influence where you stand at golden hour.
3. A practical lens table
Here’s a compact table you can rely on. Full-frame focal lengths only:
Note: Keep your focal lengths in full-frame equivalents. If you’re shooting APS-C, adjust accordingly. And yes, a polarizer helps but don’t rely on it to fix composition or exposure.
4. The blue hour and golden hour timing
The canyon rewards patience. Plan to arrive 30–45 minutes before sunrise and stay 20–30 minutes after sunset for afterglow. The canyon keeps color longer than the sky, so you can ride the color wave even after the sun dips.
Tip: Don’t rush the color. The canyon’s orange and red tones linger, giving you subtle opportunities for multi-shot sequences that render as a natural HDR in post if you bracket well.
5. Best spots ranked
- Mather Point (sunrise, accessible) — classic mainstay with easy access and iconic angles.
- Hopi Point (sunset, Hermit Road) — long sightline for endless silhouettes and color.
- Yaki Point (sunrise, fewer crowds) — a quieter sunrise canvas if you arrive early.
- Desert View Watchtower (big eastern vistas + foreground architecture) — foreground depth and a sense of place.
- Lipan Point (broadest panorama; closed June 22 – December 23, 2026 for rehabilitation work) — expansive horizons, minimal obstructions.
Internal links for quick reads: Mather Point, Hopi Point, Desert View Watchtower, Lipan Point.
6. Gear for the inner-canyon descent
Every ounce matters on Bright Angel/South Kaibab. A heavy tripod becomes punishment in the dust and on the rim in +20°F heat at depth. Bring a rocket blower, keep the body in a sealed bag during dust, and budget a spare battery for cold rim mornings.
If you’re carrying a lot of gear, it’ll slow you down and you’ll miss light windows. I choose a lean kit: body + one versatile lens, a polarizer, and a lightweight tripod I can manage only when it’s absolutely needed.
7. Practical settings + composition
Bracketing for high dynamic range (HDR) helps when the sky is bright and the canyon is deep. Use foreground anchors (juniper, rock ledges) to give your composition a sense of scale. And yes, you can shoot most rim overlooks without a tripod—handheld shots with careful bracketing can hold their own.
Tip: think in layers—foreground rock, mid-ground canyon, and distant ridges—to build a three-dimensional feel. If you’re working with longer focal lengths, keep the composition tight to avoid losing context in the frame.
8. Verdict
The one-evening, one-morning plan that gets the keeper shots is simple: pick your light window, move between Mather/Yaki for sunrise and Hopi/Pima for sunset, bracket for HDR, and keep your pack lean. Respect the shuttle season, respect the parking patterns, and don’t force a shot. Wait for the light to come to you, and you’ll bring home images that feel earned, not purchased.
Book a Guided Grand Canyon Experience
Viator runs helicopter flights, guided rim hikes, and Grand Canyon Railway day packages that bundle transport, entry, and a guide — useful when you would rather skip the driving and parking logistics.
Browse Grand Canyon Tours on Viator →Affiliate link — we earn a small commission at no cost to you.