By The Lowdown Guide Editorial Team · Last verified on the ground: 2026-05-25
The South Rim is the Grand Canyon at its most dramatic: wide, walkable viewpoints, long overlooks, and weather that changes your whole plan between breakfast and dinner. It’s also one of the more manageable corners of the park for older visitors—if you plan around the 7,000-foot elevation, lean on the accessible viewpoints and shuttles, and build in rest.
I’m going to be practical. If you set up the Scenic Drive Accessibility Permit, choose the paved overlooks, and pace the day with benches and shade in mind, a trip with elderly parents feels effortless and still delivers the iconic views. Let’s plan it.
1. Intro: Accessible in practice when you plan around elevation
The South Rim is one of the most accessible national-park experiences if you work with the right permits and pace yourself around 7,000+ feet of elevation. We’re talking viewpoints that are paved, benches where you can sit, and a logistics stack that respects limited mobility. I’ve seen families roll through with a plan that actually respects energy budgets—and it changes the day entirely.
2. The Scenic Drive Accessibility Permit
This permit is free and practical. Pick it up at the Visitor Center or at the entrance gate; it lets a private vehicle drive Hermit Road (Red route) when it is otherwise shuttle-only March–November, so mobility-limited visitors can reach Hopi, Mohave, and Pima Points by car.
Tip: keep the permit handy at the car window and plan the rest of your day around the shuttle stops if you’d rather leave the driving to logistics rather than fatigue. For viewpoints along the rim, see Mather Point and Hopi Point.
3. Paved, wheelchair/walker-friendly viewpoints
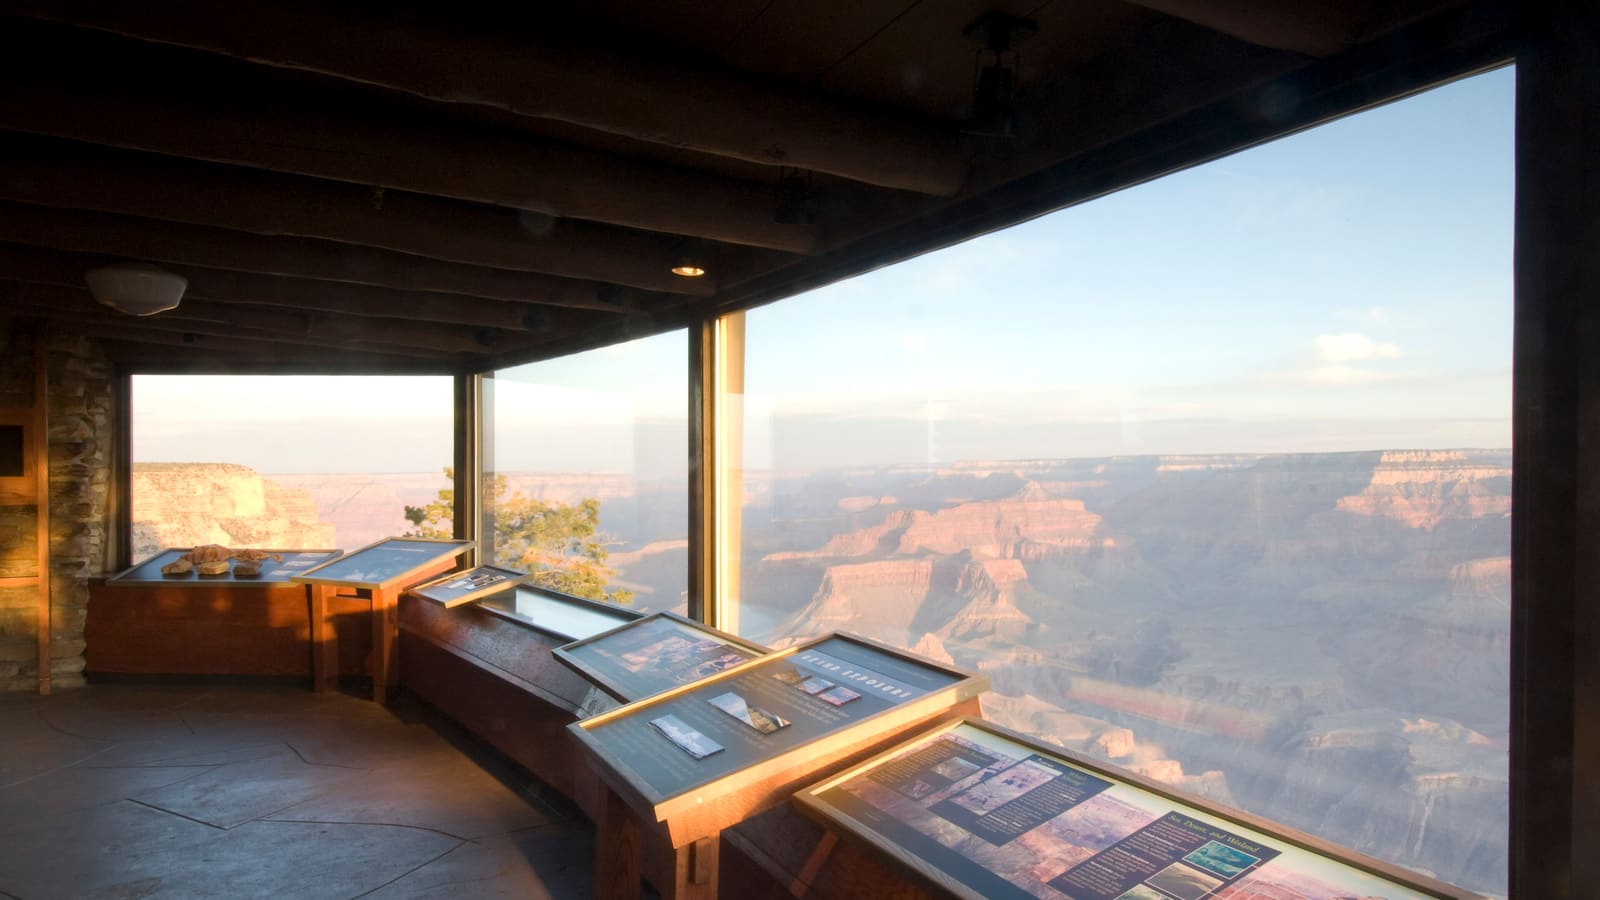
Mather Point, Yavapai Point/Geology Museum, and the paved Rim Trail between them are the sweet spots: benches and railings, relatively flat, and accessible for walkers and wheelchairs. It’s not all stairs and scramble here—these stretches are designed for a broader audience.
If you need a quick anchor point for a shorter outing, these are it. I’ll map a couple of short stops around them so you can pace meaningfully without burning out.
4. The free shuttle system with rest stops
The Village (Blue) route hits lodges and services, and the rest stops offer mobility-friendly pacing. The shuttles are accessible buses (kneeling, ramps), which helps a lot when you’re traveling with seniors who tire easily.
I use shuttles to reduce long walks between viewpoints, and I time stops around meals. If you’re staying near populated areas, you can hop on and off to minimize distance per leg of the day.
5. El Tovar and lodge accessibility
El Tovar is a historic 1905 building with limited elevator coverage. It’s a standout experience, but expect accessibility constraints in certain areas. Thunderbird and Maswik lodges are more modern and generally offer better accessibility options; reserve accessible rooms early to avoid disappointment.
If El Tovar is on your list, call ahead to confirm elevator access to specific dining rooms or lounges and confirm room accessibility features before booking. I’ve found that early reservations help align meals with sunrise logistics and view timings.
6. The 7,000 ft elevation reality
Shortness of breath, slower pace, and the need for hydration and acclimatization are real. If parents have heart or lung conditions, talk to a doctor before the trip. Oxygen saturation can dip at altitude, even for fit travelers.
I’m not alarmist here—just honest. Start with a conservative pace, plan for extra rest, and build in acclimatization time if you’re visiting from lower elevations. The payoff is a calm day with big views, not fatigue that steals the moment.
7. Benches, shade, and pacing
There are dozens of seating options along the rim at regular intervals. Plan short outings with built-in rest breaks rather than one long day. Shade is your friend—especially around mid-day when sun is strong. If you’re navigating with a stroller or walker, you’ll appreciate the flatter routes near Mather Point and the Rim Trail segments.
I map a few anchor viewpoints (Mather Point, Yavapai, and Rim Trail connectors) and then build 2–3 short loops with optional extension if energy allows.
8. Verdict — a low-strain half-day plan that still delivers the iconic views
You don’t need to press through a full day of intense exposure to experience the Grand Canyon. The South Rim rewards preparation: plan around the elevation, use the Scenic Drive Permit when it serves your day, lean on the wheelchair-accessible viewpoints and shuttles, and treat below-rim ventures as optional extensions if energy allows. It’s possible to see the key views without exhausting yourselves, and that’s the real win here.
If you want a clean starting point, pick your month with best time to visit, decide on a one-day or two-day plan, and then align your hiking with Bright Angel or South Kaibab to match stamina. That’s how you preserve sunset magic without sacrificing comfort for your aging crew.
Book a Guided Grand Canyon Experience
Viator runs helicopter flights, guided rim hikes, and Grand Canyon Railway day packages that bundle transport, entry, and a guide — useful when you would rather skip the driving and parking logistics.
Browse Grand Canyon Tours on Viator →Affiliate link — we earn a small commission at no cost to you.